If you add a graphic map, you can see and control the status of the doors in real-time in the graphic.
| 1) | Click MONITORING > Graphic Map View. |
| 2) | Click ADD GRAPHIC MAP.
 |
| 3) | Set the name and group of the graphic map. |
| 4) | Click Upload and select the background you want to use as the graphic map. |
 Note Note
| ▪ | The max size of the images that can be used as a background is 5MB. |
| ▪ | Supported image file formats are BMP, GIF, JPG, JPEG, PNG. |
| ▪ | If you back up the BioStar 2 database, the image file registered in the graphic map may be deleted. If you want to continue using images registered as a background even after database backup, back up the image files. |
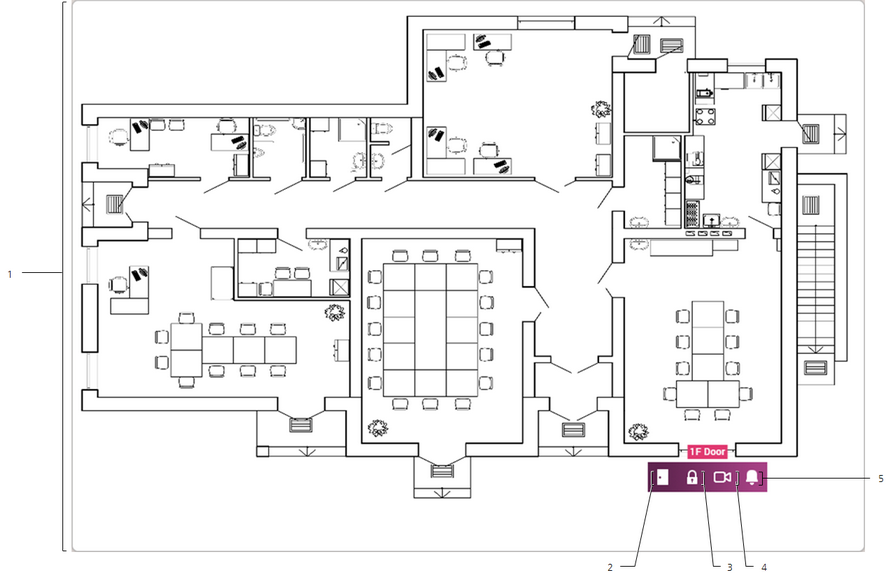
| 5) | Select the door you want to display on the graphic map from the Door. The door status bar appears.
 |
|
|
|
|
1
|
Graphic Map
|
The uploaded background image appears.
|
2
|
Door Status
|
You can see the door status and temporarily open the door.
|
3
|
Door Relay
|
You can lock or unlock the door manually.
|
4
|
Live Video View
|
You can see the screen of the IP camera registered at the door in real time.
Note
| ▪ | The Live Video View button is activated only when the camera is registered at the door. |
|
5
|
Alarm
|
You can see or clear the alarm that has occurred on the door.
|
| 6) | Select the zone you want to display on the graphic map from the Zone. The Zone status bar appears.
|
|
|
|
|
1
|
Zone
|
You can see the type of zone.
Note
| ▪ | The zones can be selected up to 100. |
|
2
|
Alarm
|
You can see or clear the alarm that has occurred on the zone.
|
| 7) | Drag the door and zone status bar to the location of the door and zone in the graphic map. |
| 8) | When setting is finished, click Apply. |
|
| 1) | Click MONITORING > Graphic Map View. |
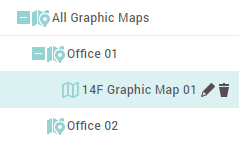
| 2) | Click  in the graphic map that you want to edit. in the graphic map that you want to edit.
 |
| 3) | After editing the information you want, click Apply. |
|
| 1) | Click MONITORING > Graphic Map View. |
| 2) | Click  in the graphic map that you want to delete. in the graphic map that you want to delete.
|
| 3) | Click Yes to delete the selected graphic map. |
|
